Integrating Data to Workspace
After ↗️ creating a Workspace, you can upload data using one of the following methods:
- API integration
- File upload
- Shopify integration
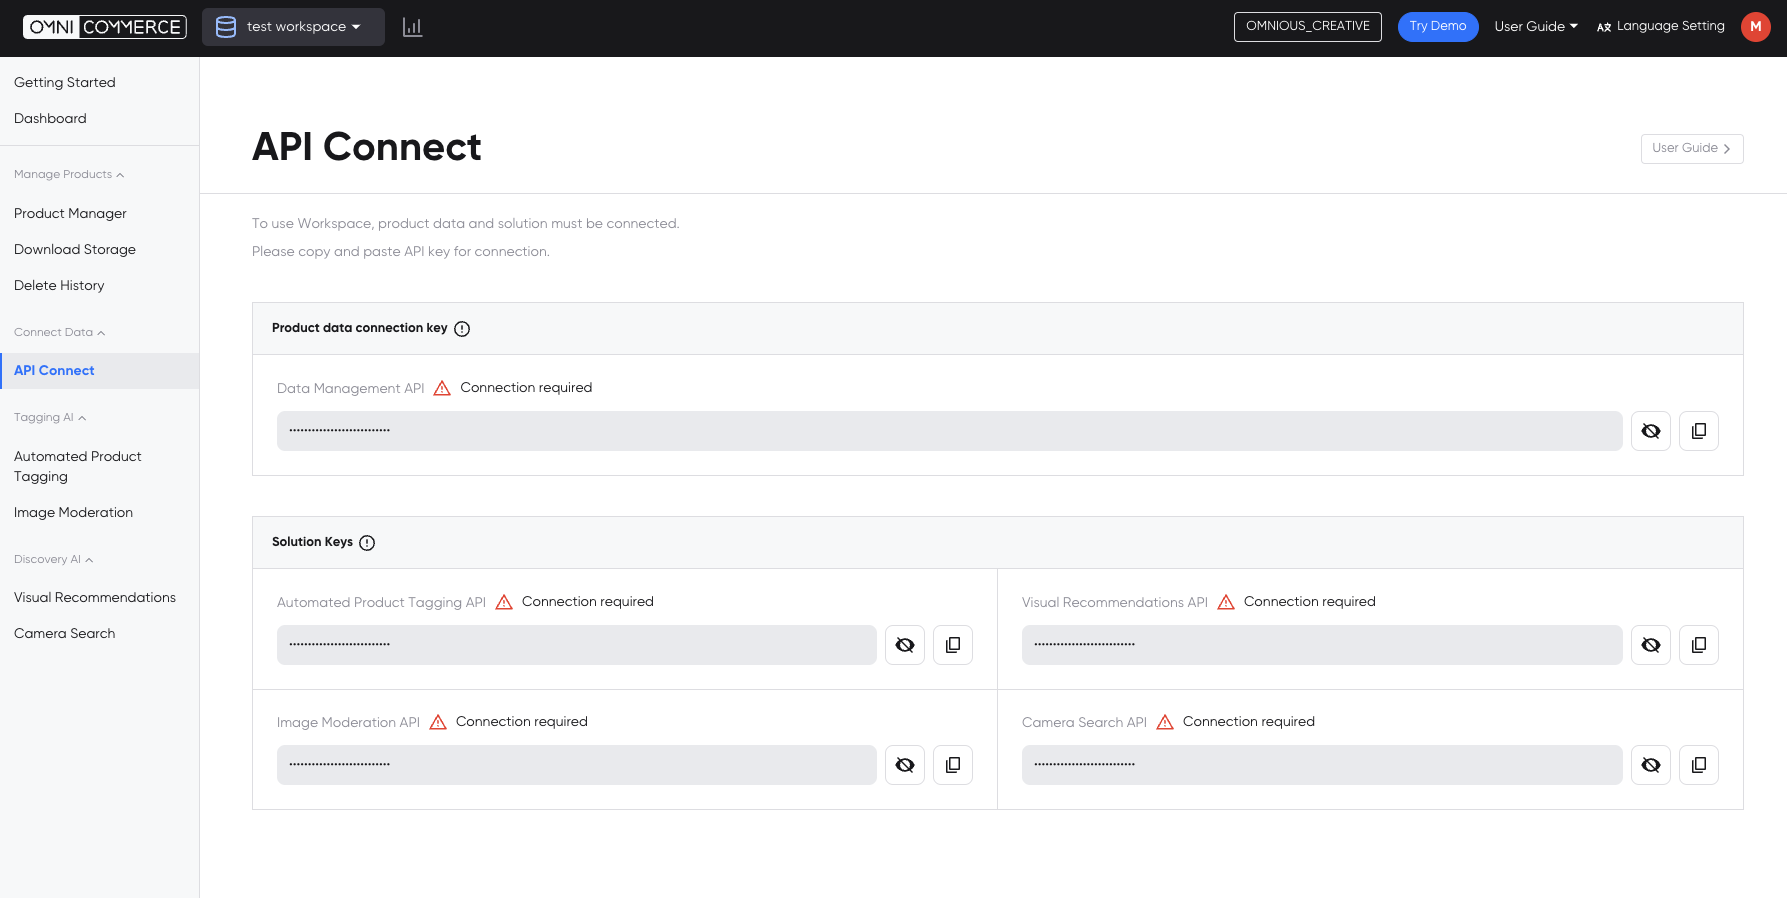
API Integration
If you have set up API integration for your data, you need to perform the integration process internally. On the API integration page, you can check and copy the authentication keys required for the integration.
Authentication key for product data integration
- The authentication key for product data integration is provided as a Data Management API key.
- Click the copy button to copy the authentication key.
- When the integration starts, the completion message is displayed.
Authentication key for solution
- Authentication keys for solutions are provided as API keys for each solution.
- Click the copy button to copy the authentication key.
- When the integration starts, the completion message is displayed.
API Integration Related Guides
File Upload
This is a way to upload product data by entering product information using the upload template provided by OMNICOMMERCE.
Download the Template
To upload files, you need to first download the template by following these steps:

- Click the download button in the template download area of the upload bar.
- Run the downloaded template using Microsoft Excel, Google Sheet, Apple numbers, or another program.
- Enter product information from row 1 according to the instructions in the guide area. (The contents that have already been entered are for illustration purposes and can be deleted and replaced.)
Upload the Template
If you have saved the input template as a CSV or Excel file, you can upload it immediately.
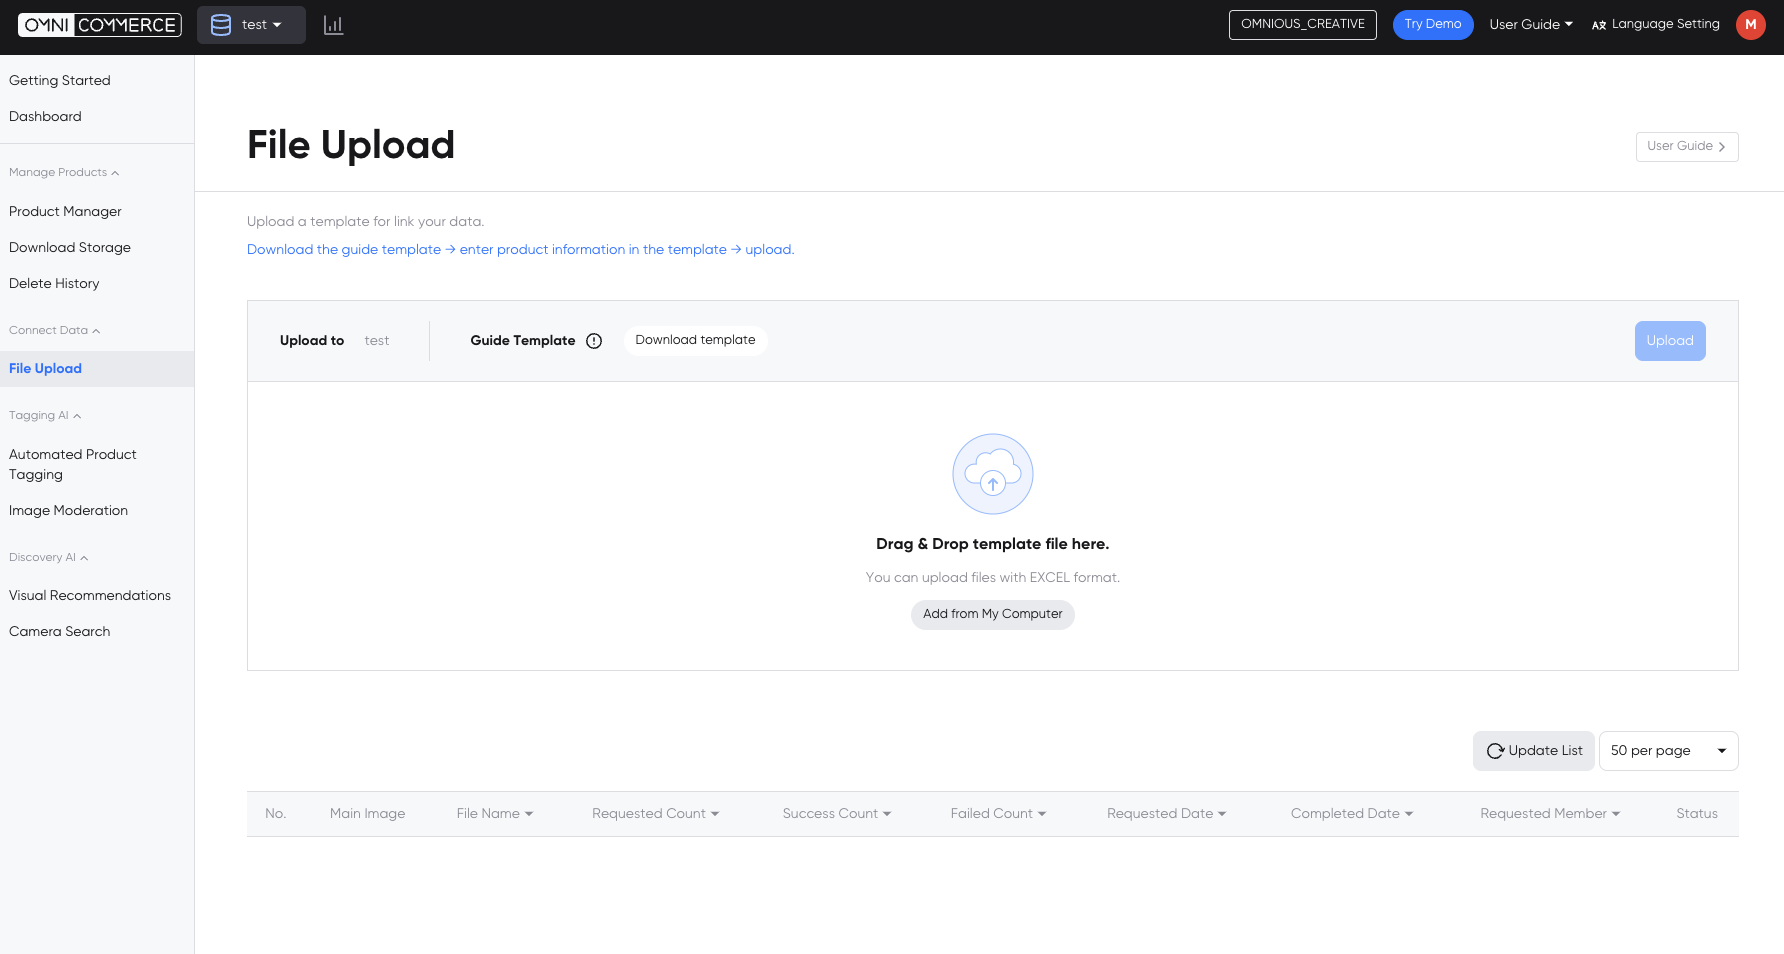
- To upload a file, drag the file to the upload area or click the add from computer button to add a file from your computer.
- If the file has been added, the upload start button will be enabled.
- To delete the file and upload a new one, click the file deletion button and add a new file.
- When you press the upload start button, the file you uploaded is added to the upload list below.
Check the Upload List

- You can view the upload list in chronological order.
- The upload list shows the number of requests (number of input template entries), number of successes (number of successful uploads), number of failures, request date, completion date, requesting member, and status.
- Click the list update button at the top to update the upload status.
Check the Failure List
- To check the failure list, click the number of failures. You can see the details of the failed entries, which include product ID, product image URL, and the cause of the failure.
Connect to Shopify
By integrating your Shopify store to the OMNICOMMERCE Workspace, any changes to the products in your Shopify store will automatically update the products in OMNICOMMERCE.
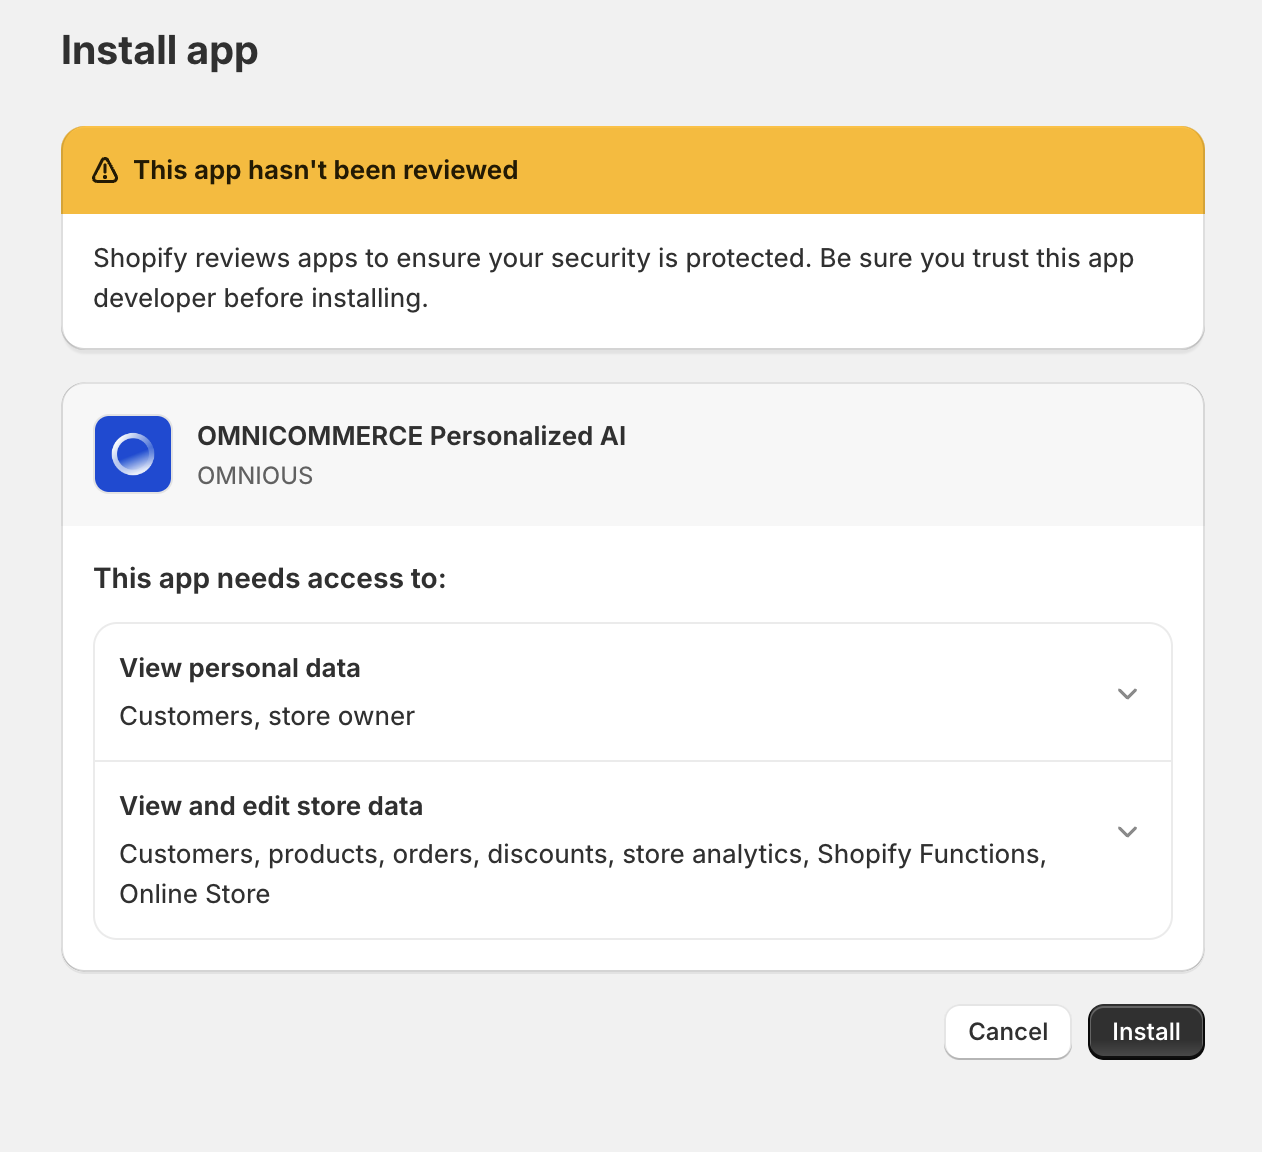
Shopify Integration
Create a WORKSPACE for Shopify in OMNICOMMERCE
Install the 'OMNICOMMERCE Personalized AI' app on your Shopify store. Our sales team will provide the app installation URL, so please contact us for assistance. (↗️ Talk to Sales)
- Once the installation is complete, please click the "Login to OMNICOMMERCE" button and log in.
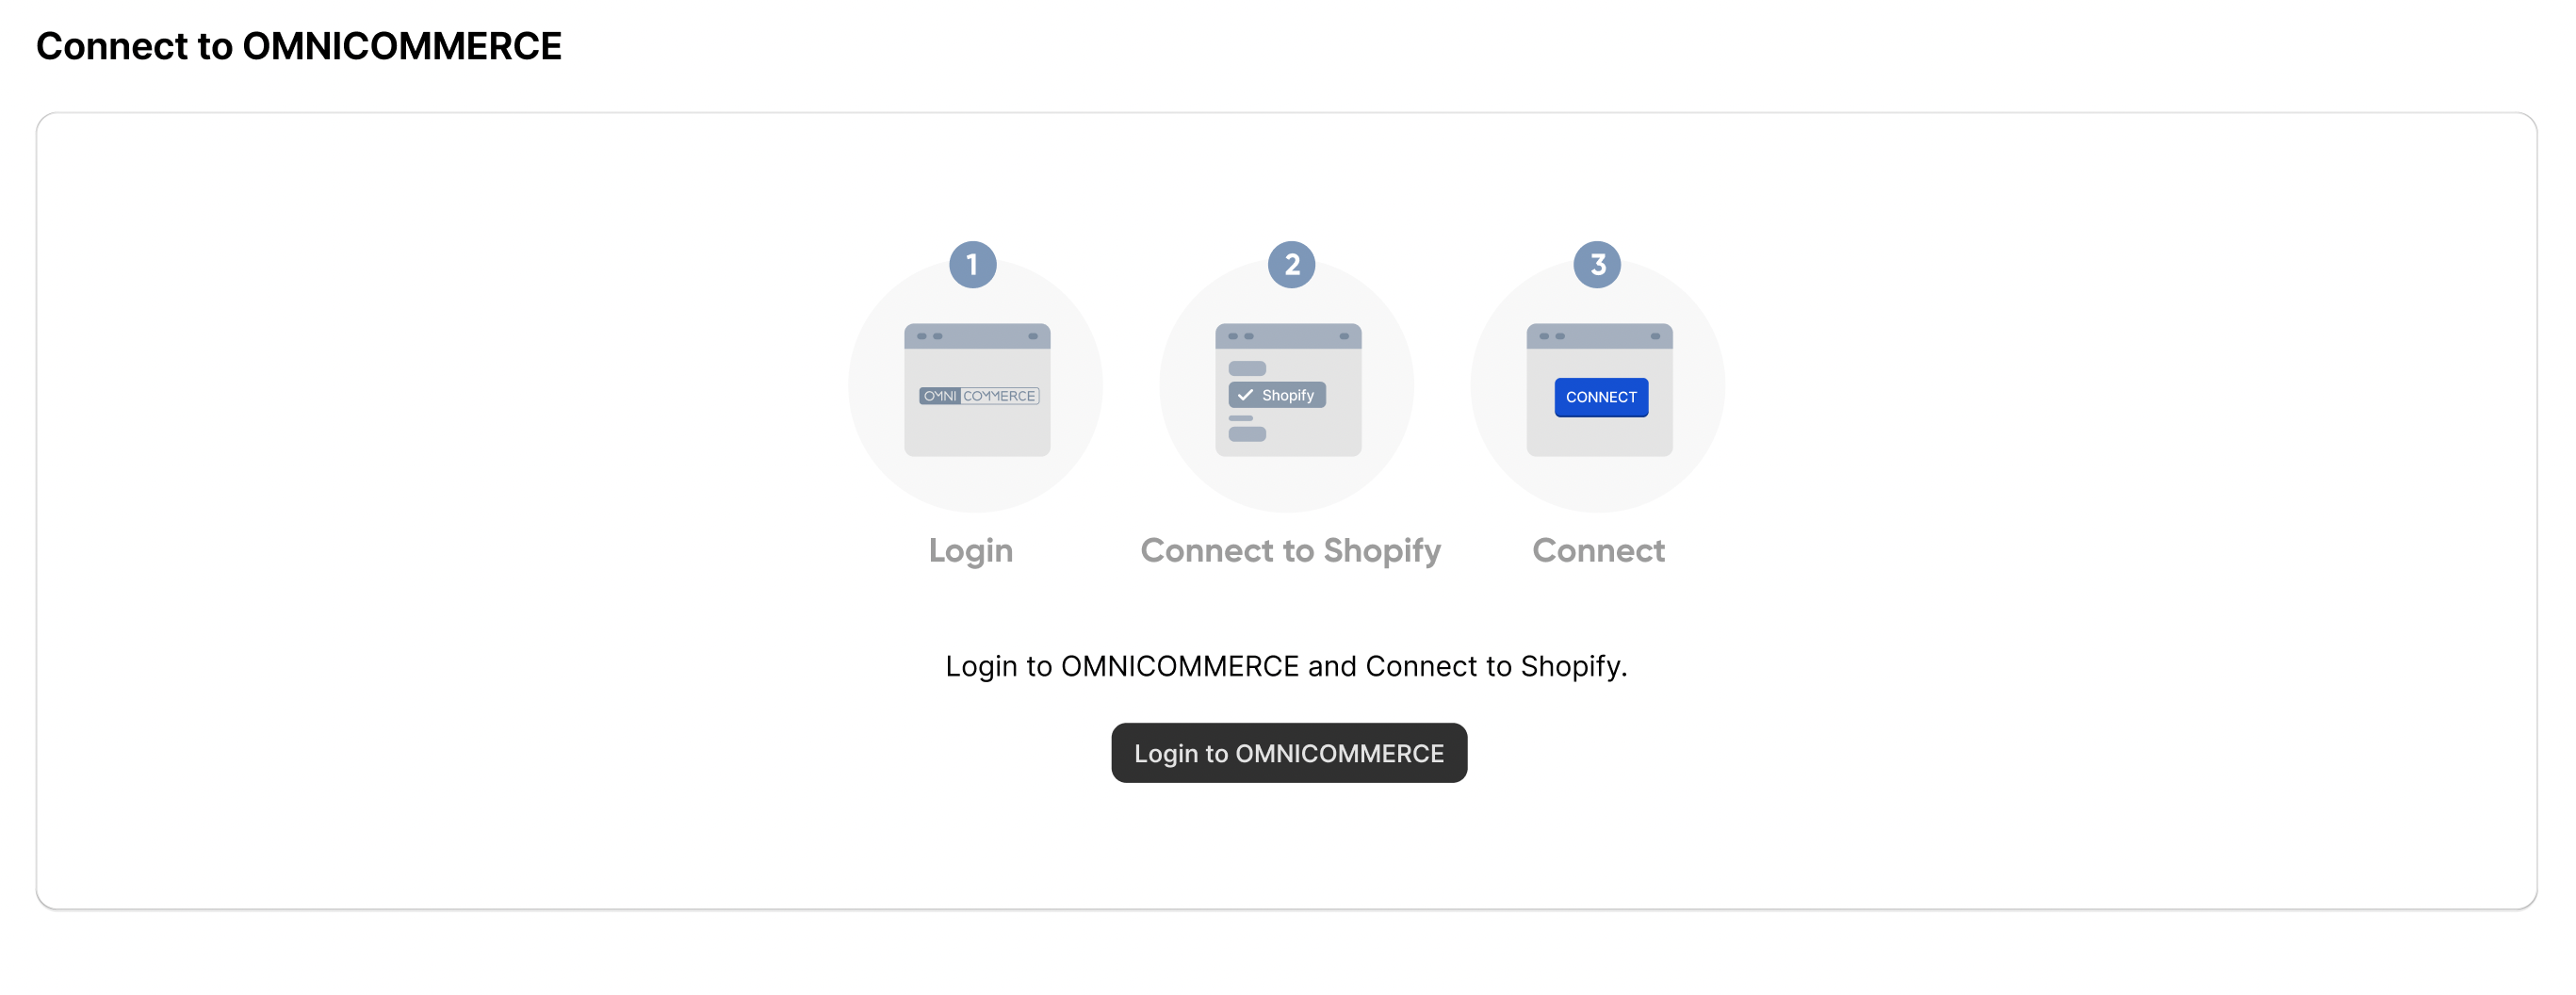
- When you log in to OMNICOMMERCE, it will be integrated with Shopify.
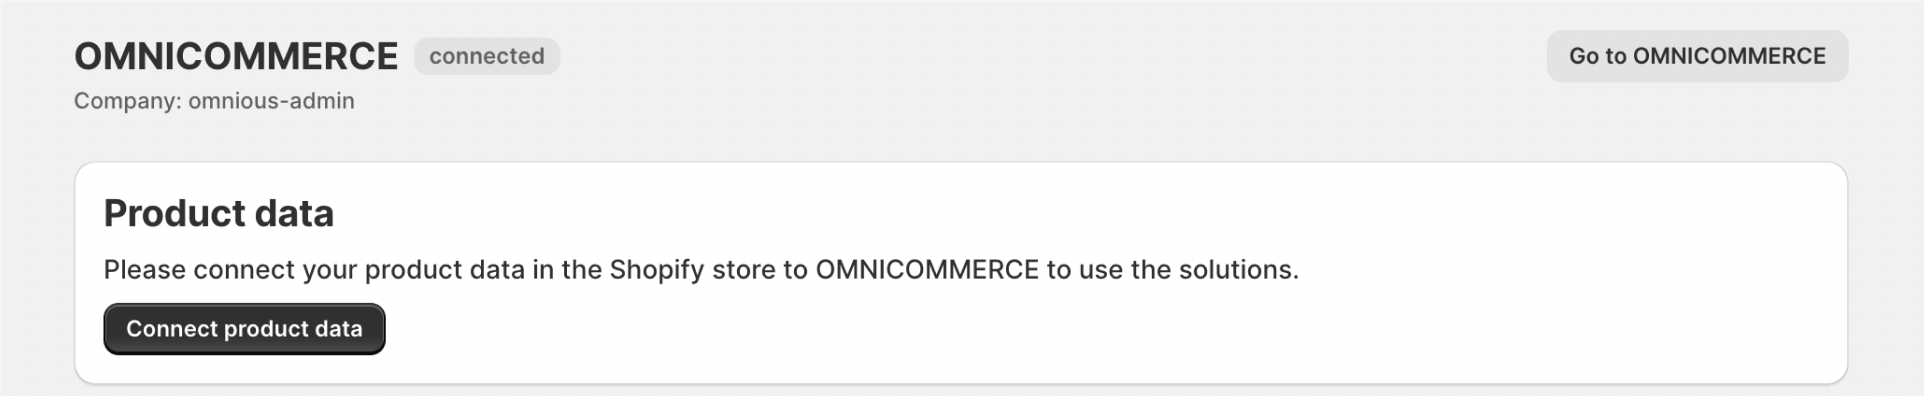
Connect Shopify store product data
- After your Shopify integration, click the ‘Connect product data’ button.
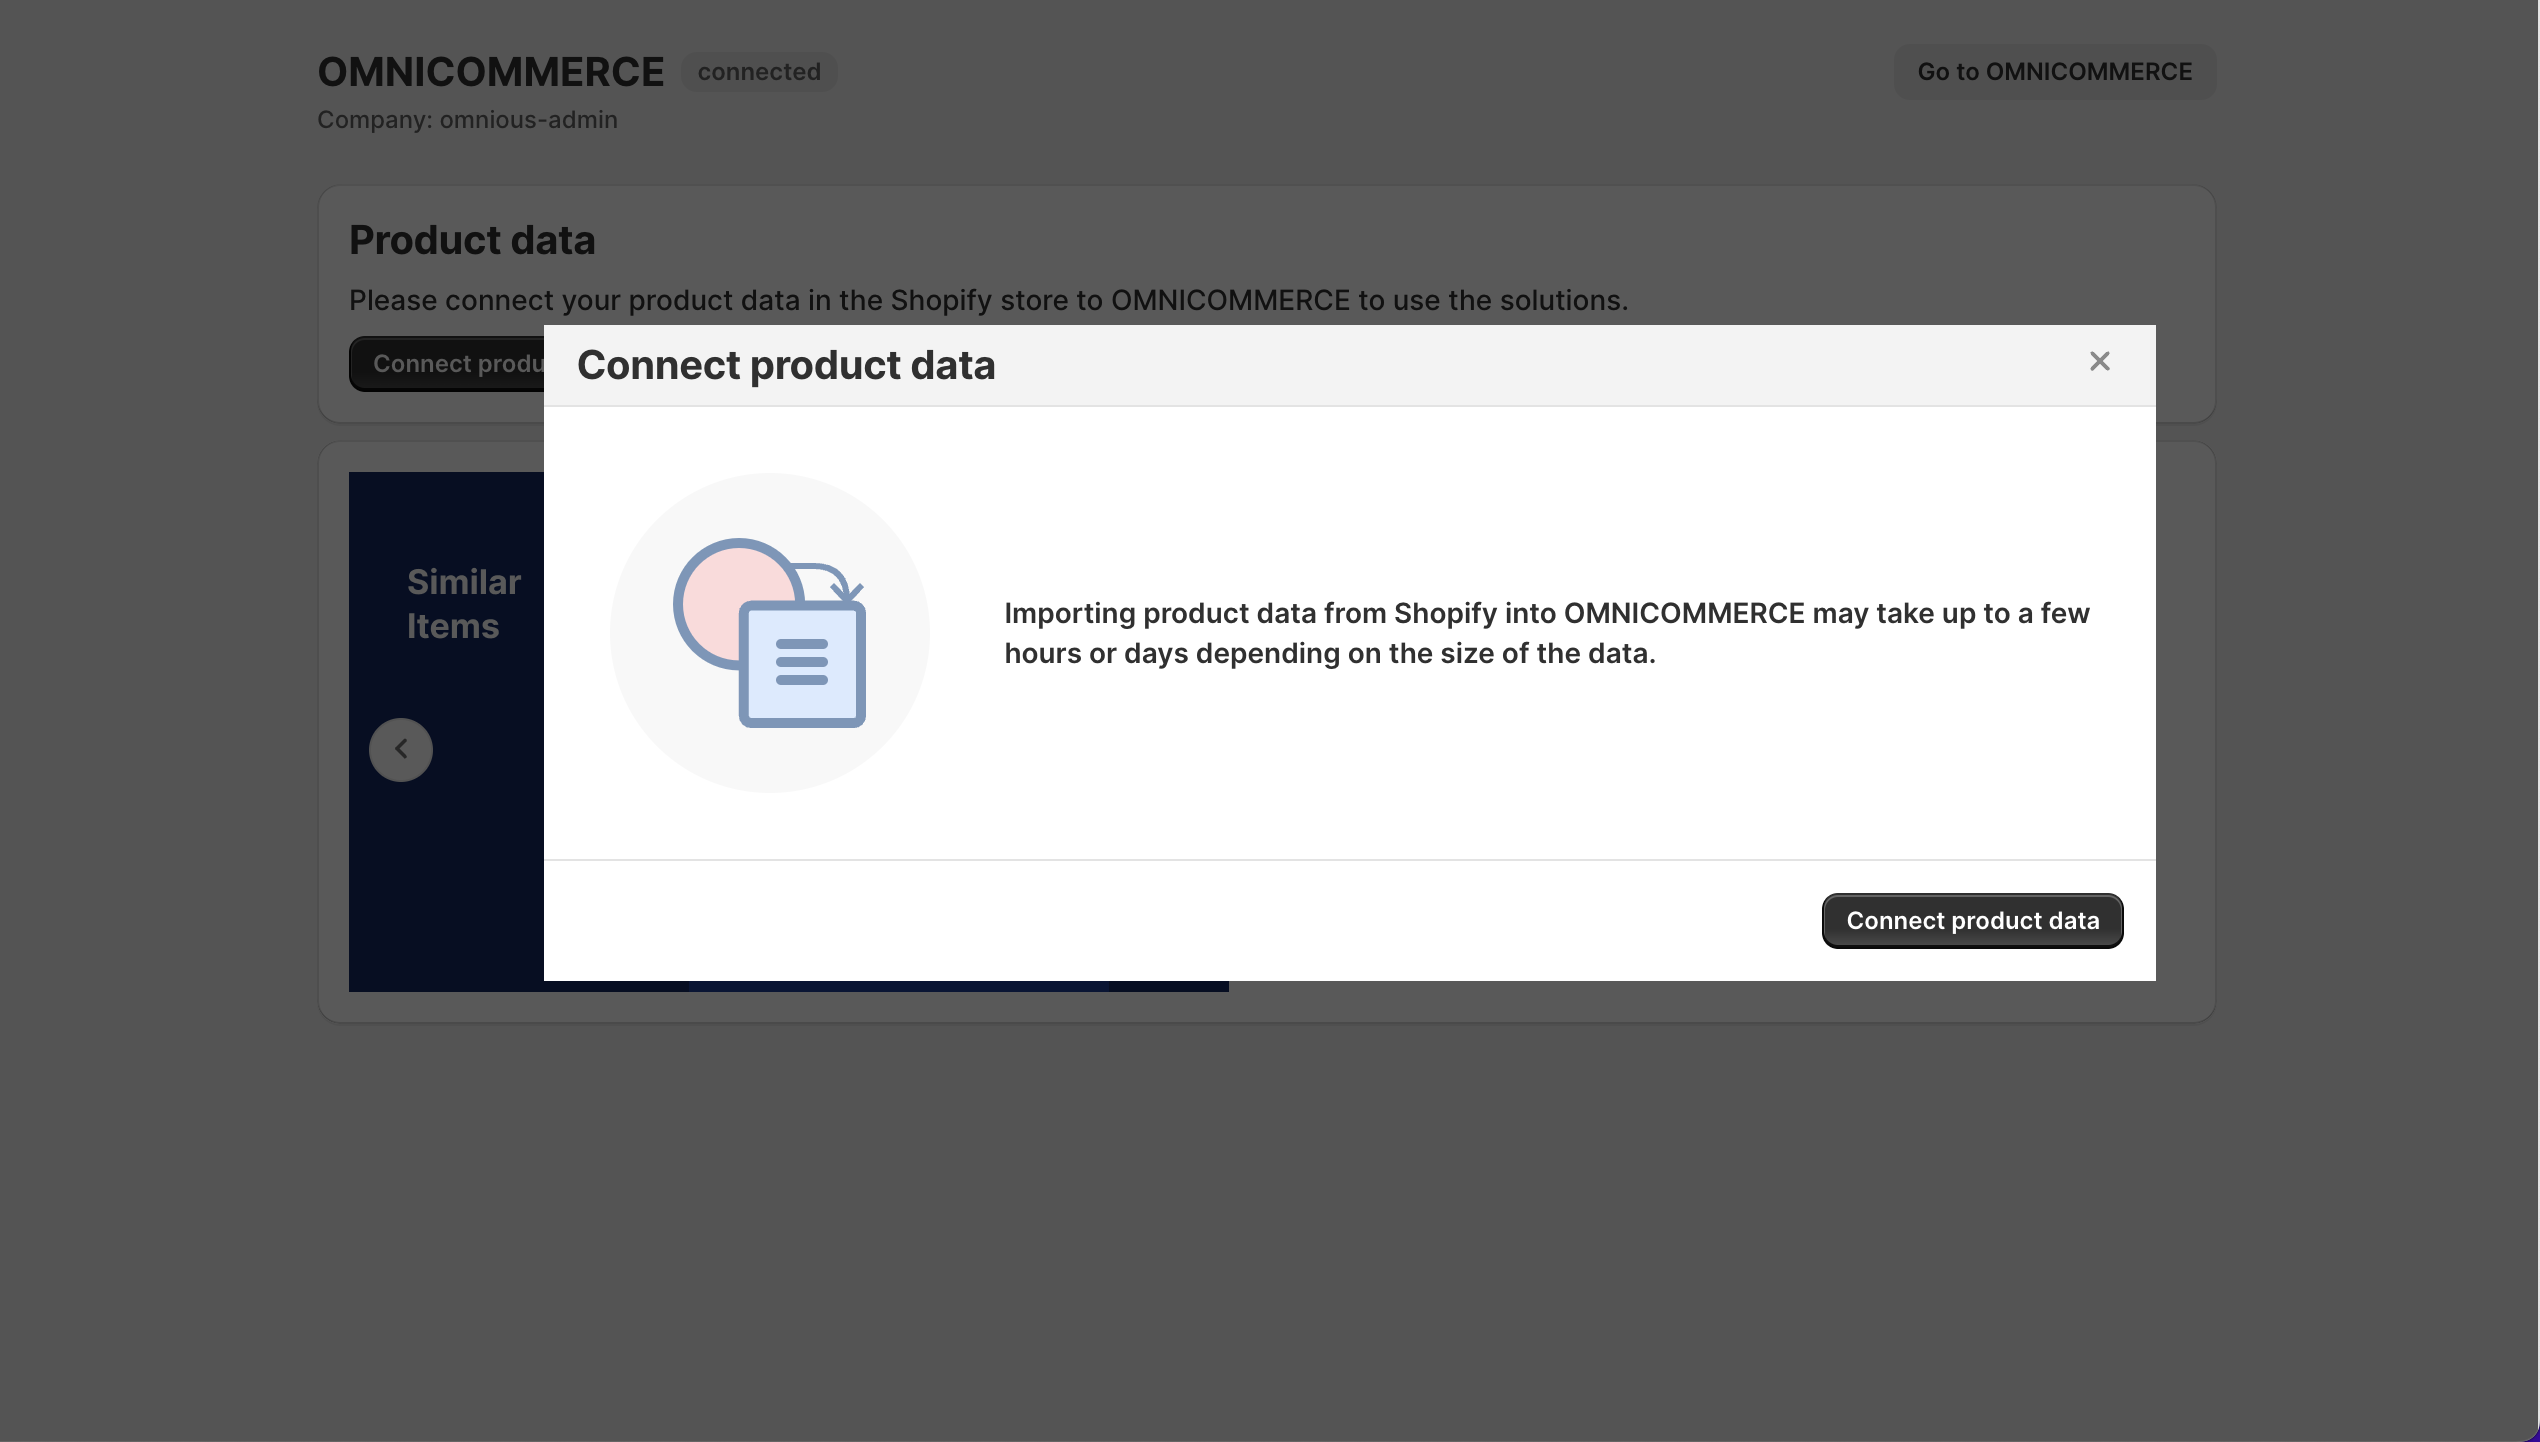
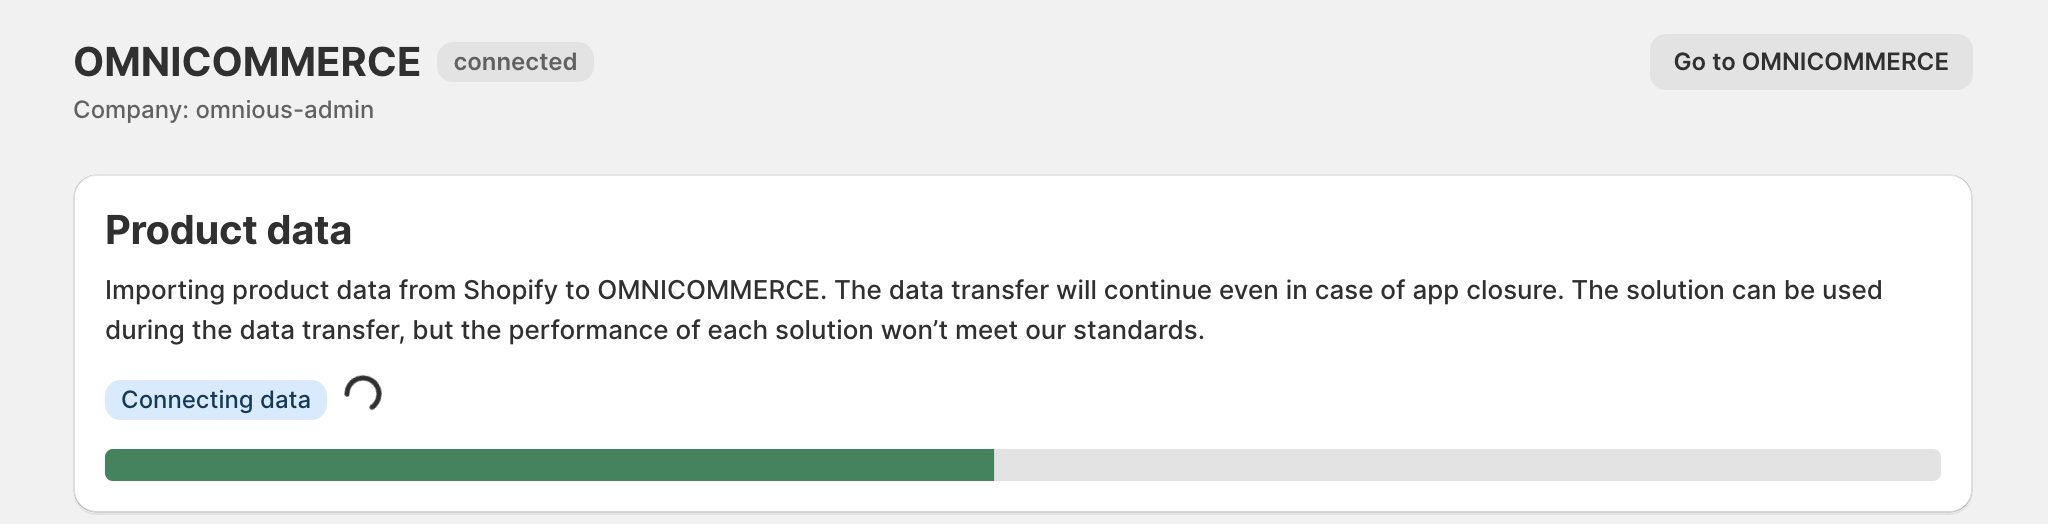
- Depending on the amount of product data, it may take up to several days. The data connection will continue even if you exit the screen. The solution can be used while the data is being connected, but it will only function properly once all the data is connected.
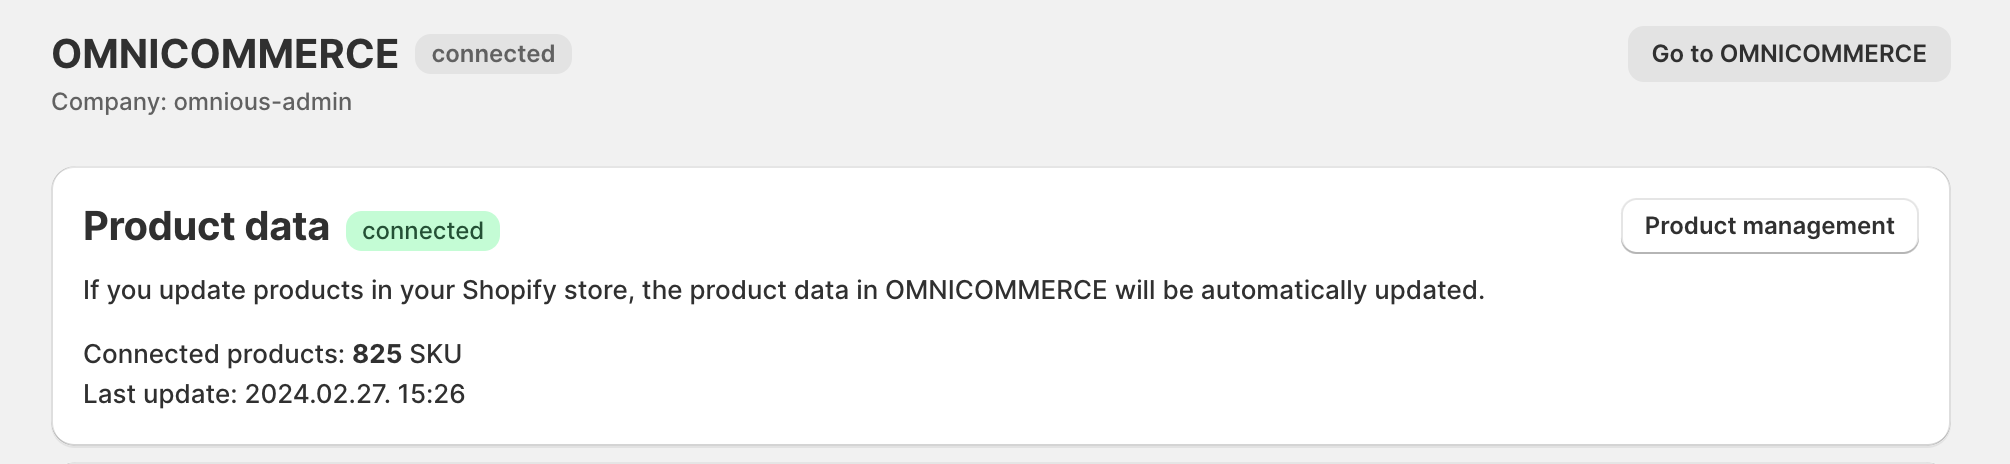
- Once the data connection is complete, you can fully use the solutions, and you can check the number of connected products in OMNICOMMERCE.
Shopify Integration Related Guides
- ↗️ Shopify Integration Introduction
- ↗️ Shopify Hyper-personalized Recommendation
- ↗️ Shopify Camera Search